Reducing the Glare on your Photos
Isn’t it distracting and frustrating to have so much in glare in your photos? You’ve already found the perfect angle and subject, only to be ruined by this unnecessary amount of light. In this article we talk about reducing the glare on your photos.
Especially if you’re beginning your photography journey, glaring can be a common mistake. And in this edition of Photography Hacks 101, we will teach how to reduce them and instead render outstanding photos as if they were taken by a professional.
So read on, and hopefully, this article will be of great help to you.
Find the perfect camera position
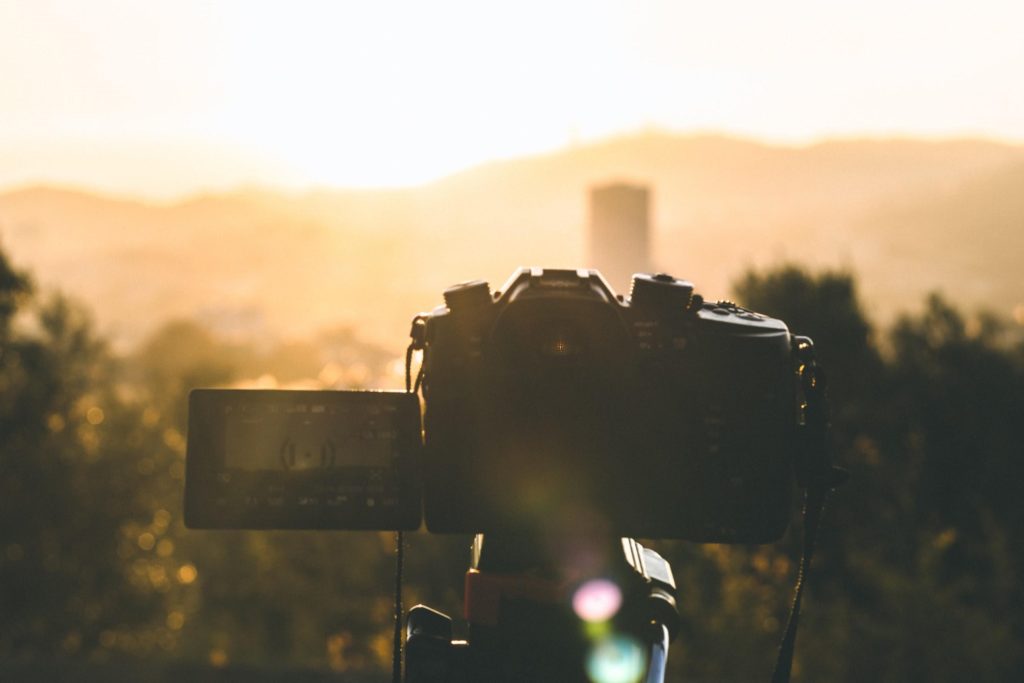
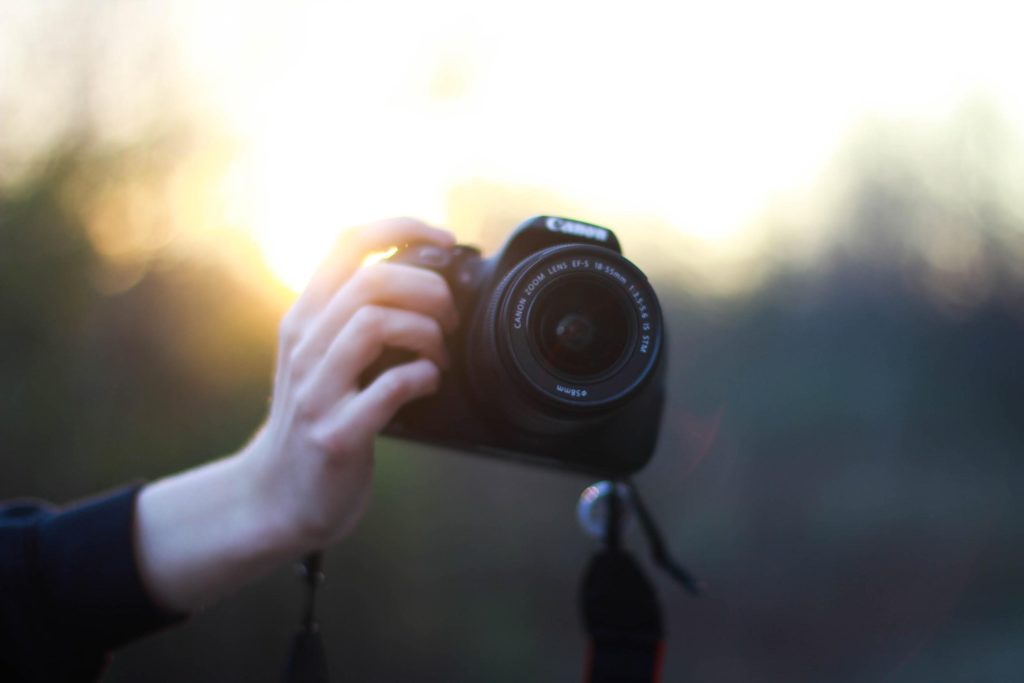
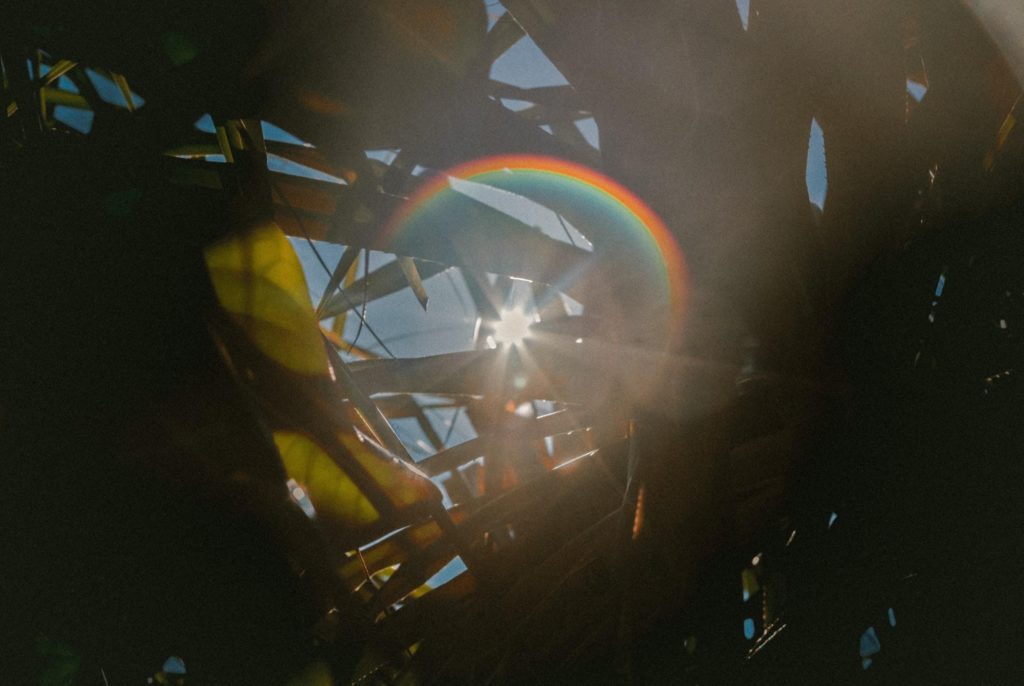
Most of the glare is coming from the sun, primarily when it’s situated behind your subject. Other times, it could be because the light source is glistening onto your lens, which causes some haziness, otherwise known as lens flare.
Whatever the reason may be, you can remedy this by fixing the position of your camera.
Simply move your camera away from where the reflection of the light is coming from. Do this until you find the perfect angle to achieve your desired result.
You can also keep some of the glare if that is the effect you are going after.
Circular polarizing filters are your best friend
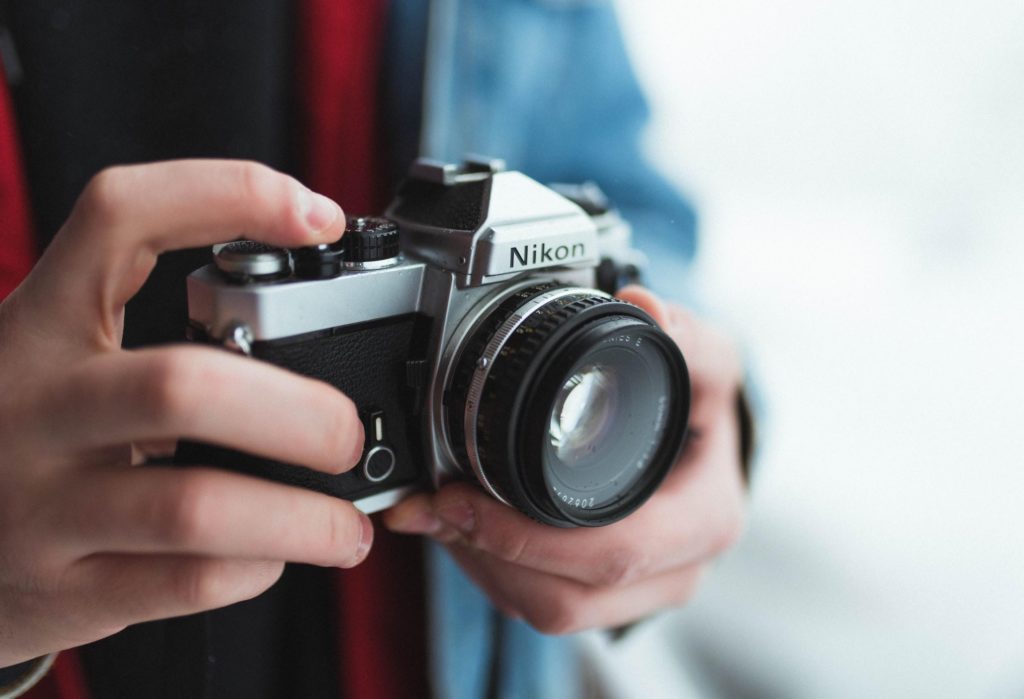
Attaching a polarizing filter to your camera may not eradicate the glare on your photos, but it can help enhance it, at the very least. It will depend on whether you have linear polarization or light reflections on water, or circular polarization, or light reflections on metallic surfaces.
The filter itself will block out the light that enters the lens by rotating it from one direction to another. In this instance, the circular polarizer is much more applicable.
Use this method whenever you intend to leave a small amount of glare on your photos.
Add some shade to your lens
A lens hood can only do so much to block off the unwanted light. This is where a little innovativeness from your part will come in.
If you’re shooting under high daylight, use an external object to obstruct some of that sunlight. You can either use your hand or go under a shaded area away from the direct shining rays of the sun.
Photography and creativity will always go hand in hand, and these little adjustments can definitely go a long way.
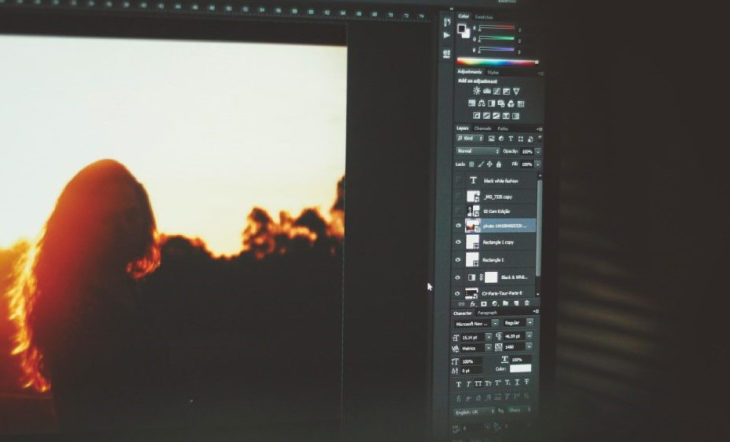
Make the adjustments through post-processing
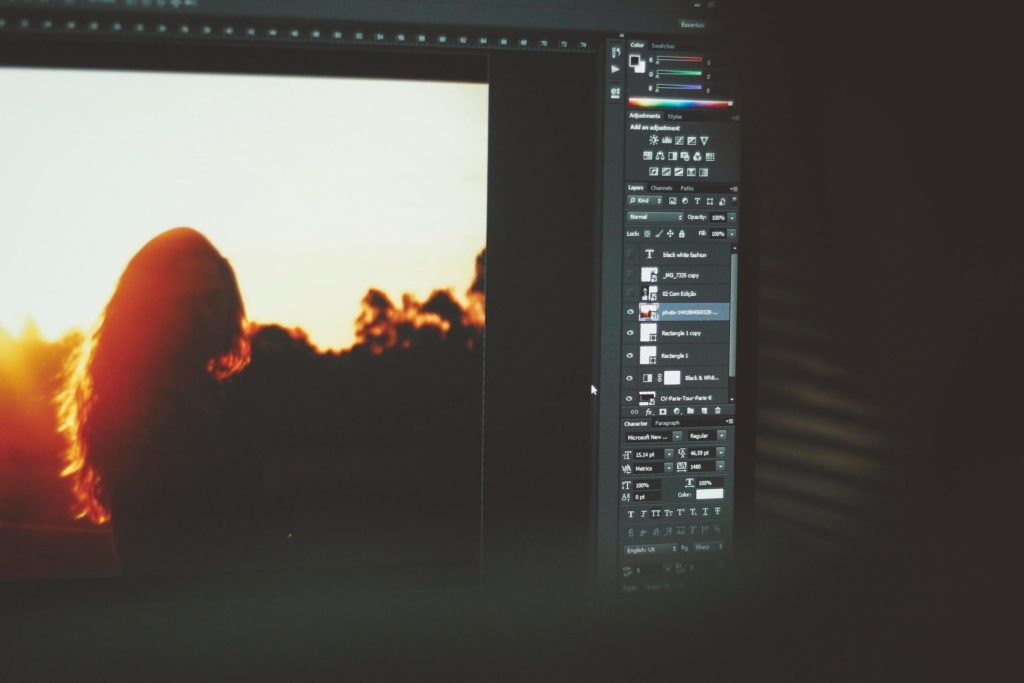
If by some chance you missed out on some photos with too much glare, worry not. You can still make the necessary alterations through various post-processing techniques.
First off, pick a software of your choice, whether that’s Photoshop or Lightroom. Using either one will work fine, as it will depend on which of the two you’re more adept at using.
Dehazing the photos is one technique used by photographers to reduce glare. You can make the adjustments by toggling on the slider features of each software.
Another way is by making the adjustments on shadows and highlights. Similar to the dehaze tool, explore through the sliders until you get the effect you want. If you have any tips on reducing the glare on photos, share them down below.
Only registered users can comment.